Click on the tab Run anonymization to execute the specified rules, taking the exceptions into account.
This page covers the following subjects:
Modes of operation
There are two modes of operation:
For production sites, the plugin will create an anonymized database export file while leaving the real data in the live database untouched.
For non-production sites, the plugin will change the data in the database itself.
You must specify the mode on the Start tab (see Start – Mode and auto-generate rules).
Production mode
In production mode, the anonymization runs according to the following visualization (explained below).
- Tables containing columns that will be anonymized, are copied within the same database under a different name. This ensures that all production data in the real tables will remain untouched.
(!) Please verify that there is sufficient disk space in the hosting environment to create and store the table copies. The plugin does not check this as part of the run. - The copied tables are anonymized.
- A database export file is created containing:
- the anonymized table copies with the original table name
- the other tables of the database
- You must download this export file to your device. Afterwards the table copies in the database are deleted automatically.
- Import this database file to the WordPress database in the environment where you need it (usually development or test). Use your preferred database tool to execute this import.
- The WordPress users in that environment can now develop or test with the anonymized version of the production database.
Prepare to run (production mode)
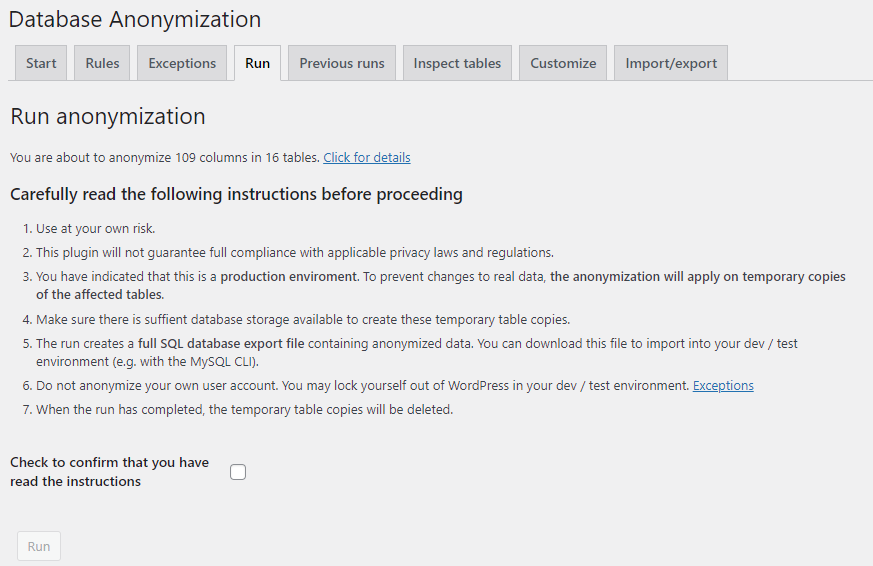
If you click on the tab Run, the screen will look like this.
The link Click for details will expand a page section that lists all transformations that are scheduled to run.
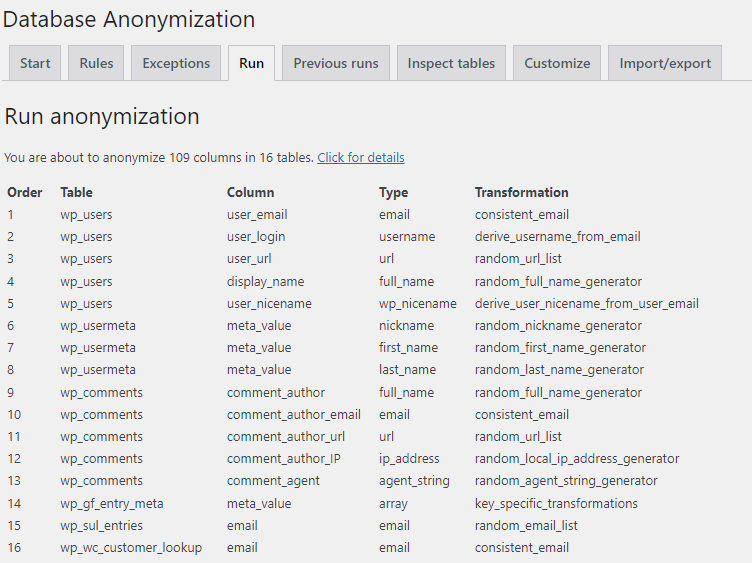
This section also lists the exceptions.

If you click again on Click for details, the screen will collapse to its previous state.
The next section is really important. It lists all instructions that you need to be aware of before you start the anonymization.
You have to confirm that you have read the instructions by clicking the checkbox. The Run button will then be enabled.

Click on Run to start the anonymization.
Running the anonymization (production mode)
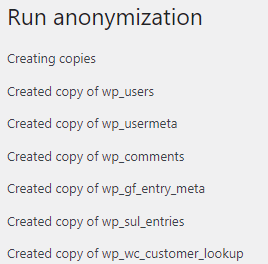
While the anonymization is running, progress information is provided.
The first section of progress information displays the copying of tables.
The second section displays the progress and result of each rule.

Error messages and warnings during the anonymization are displayed with an exclamation sign (!). In the example below a warning is displayed that one anonymization rule could not execute because the table column is too small to fit an email address.

Anonymization may take some time. Usually the process finishes within 60 seconds, depending on the database size, the hosting environment and the number of rules.
Messages about anonymization as displayed on this screen are permantly stored and can be reviewed via the tab Previous runs.
After the run (production mode)
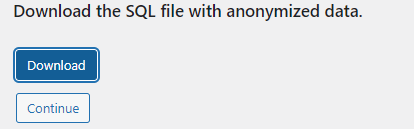
Once all rules have been applied, a Download button is displayed at the bottom of the page.

Click on Download to start the transfer of the SQL file. Depending on the configuration of your web browser, you may be prompted to specify the folder in which the file must be stored.
After the download the table copies are deleted and a Continue button appears. Click on it to return to the start of the Run tab.
Non-production mode (dev/test)
In non-production mode (dev/test), the anonymization runs according to the following visualization (explained below).

- By default, a back-up is created for all tables containing columns that will be anonymized.
(!) Please verify that there is sufficient disk space in the hosting environment to create and store the back-up. The plugin does not check this as part of the run. - The database is anonymized.
- You can inspect the result by using WordPress and by reviewing the table data (see Inspect tables).
- If the results are not ok, you can restore the database back-up and further optimize the rules and exceptions.
- If the results are ok, then you must delete the back-up to finalize the anonymization.
Prepare to run (non-production mode)
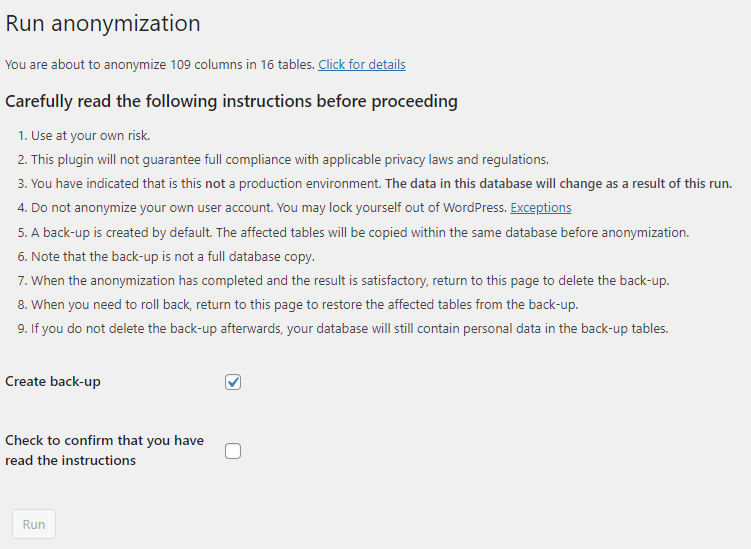
If you click on the tab Run, the screen will look like this.
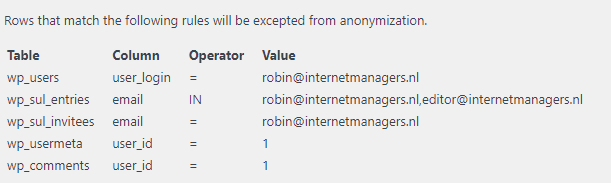
If you Click for details, the screen will expand to list the rules.

This section also lists the exceptions.
If you click again on Click for details, the screen will collapse to its previous state.
The next section is really important. It lists all instructions that you need to be aware of before you start the anonymization.
The most important one is that you understand that the data in the database will change as a result of this run.

It is recommended to create a back-up. The checkbox Create back-up is checked by default. Remember that you have to delete the back-up afterwards if you are satisfied with the outcome. Only after back-up deletion will the anonymization be completed.
As an additional safety precaution, you need to check the box to confirm that you understand the instructions. When you check it, the Run button becomes enabled.
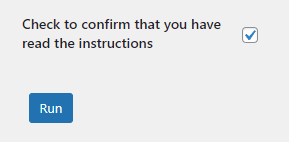
You are now ready to run the anonymization.
Running the anonymization (non-production)
Click on the button Run to start the anonymization process. The screen changes to display step-by-step progress.
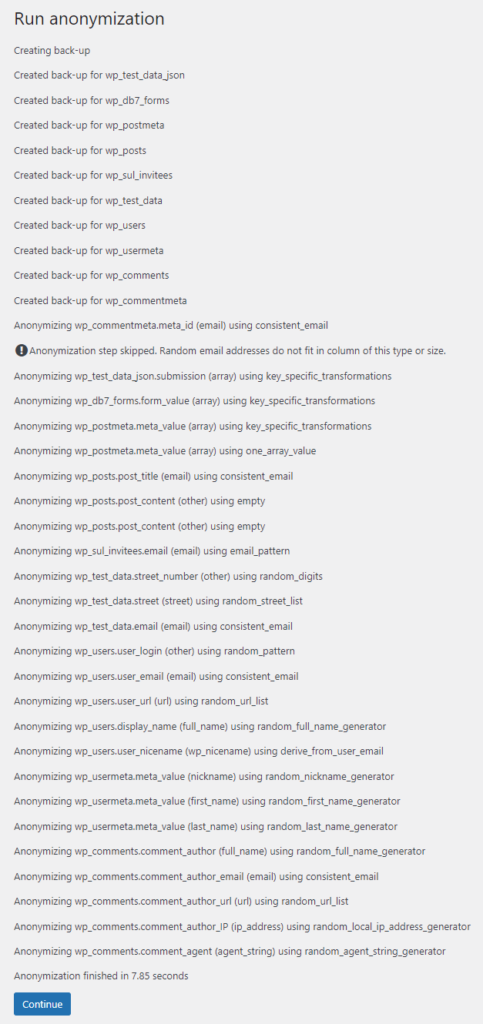
- The process starts with creating back-ups of the tables that will be affected by the anonymization.
- The anonymization rules will be executed one by one in the specified order.
- Error messages and warnings during the anonymization are displayed with an exclamation sign (!). In the example above, there is a warning that one anonymization rule could not execute because the table column is too small to fit an email address.
- Anonymization may take some time. Usually the process finishes within 60 seconds, depending on the database size, the hosting environment and the number of rules.
- At the bottom is a message showing how much time it took to run the anonymization.
- Messages about anonymization as displayed on this screen are permantly stored and can be reviewed via the tab Previous runs.
Click on Continue to return to the initial screen.
After the run (non-production)
If a back-up was created, then the appearance of the initial screen will have changed.

You have the choice to either restore the back-up or delete the back-up.
- Restoring the back-up will revert the anonymization. The affected database tables will return to the state prior to running.
- Deleting the back-up will finalize the anonymization. This is a definitve action. The original personal data that has been anonymized, is permantly removed.
Before you choose between restoring and deleting, you can review the database tables via the tab Inspect tables.
Furthermore it is recommended to test the WordPress installation (front and back) by performing some basic actions. Everything should still work, with the difference that all personal data is now anonymous.
Once you have made your choice and clicked on the corresponding button, the screen will return to its initial state.
- If you have restored the back-up, you can re-run the anonymization.
- If you have deleted the back-up, there is usually no need to run another anonymization unless you discover personal data in columns that were previously not anonymized.
(!) If a back-up exists, it is not possible to uninstall the plugin. You will first have to choose between restoring or deleting the back-up before you can uninstall it.
To review the messages of this run, click on the tab Previous runs.